
In this article, we'll explain how to make your own filter coffee using a hand filter. We'll also give you specific tips on which products we use and can confidently recommend. The beauty of brewing with a hand filter is that you're literally in control of all the factors. And these can ultimately make all the difference in taste.
IN THIS ARTICLE:
4 things you need for filter coffee:
The advantage of filter coffee? You don't need expensive equipment, yet you can still achieve outstanding tasting results. To make good filter coffee, you only need four utensils:
1. Coffee filter (paper filter)
2. Coffee pot and filter
3. Kettle
4. Coffee beans (coffee grounds)
Coffee filters: Which paper filter is right for your hand-drip coffee?

There are many filter bags on the market, in different shapes, sizes, and colors. For the sake of simplicity, we'll only present two common models that we use ourselves: the classic brown filter bag with a flat bottom, like the original from Melitta and certainly from our parents' and grandparents' kitchens, and the bleached, tapered filter bag from the Japanese brand Hario, suitable for the Hario V60 coffee filter .
Purchase recommendation 1: Melitta coffee filter bags* (↗︎)
Purchase recommendation 2: Hario coffee filter bags* (↗︎)
Coffee pot and filter: Which are the best for hand filtering?
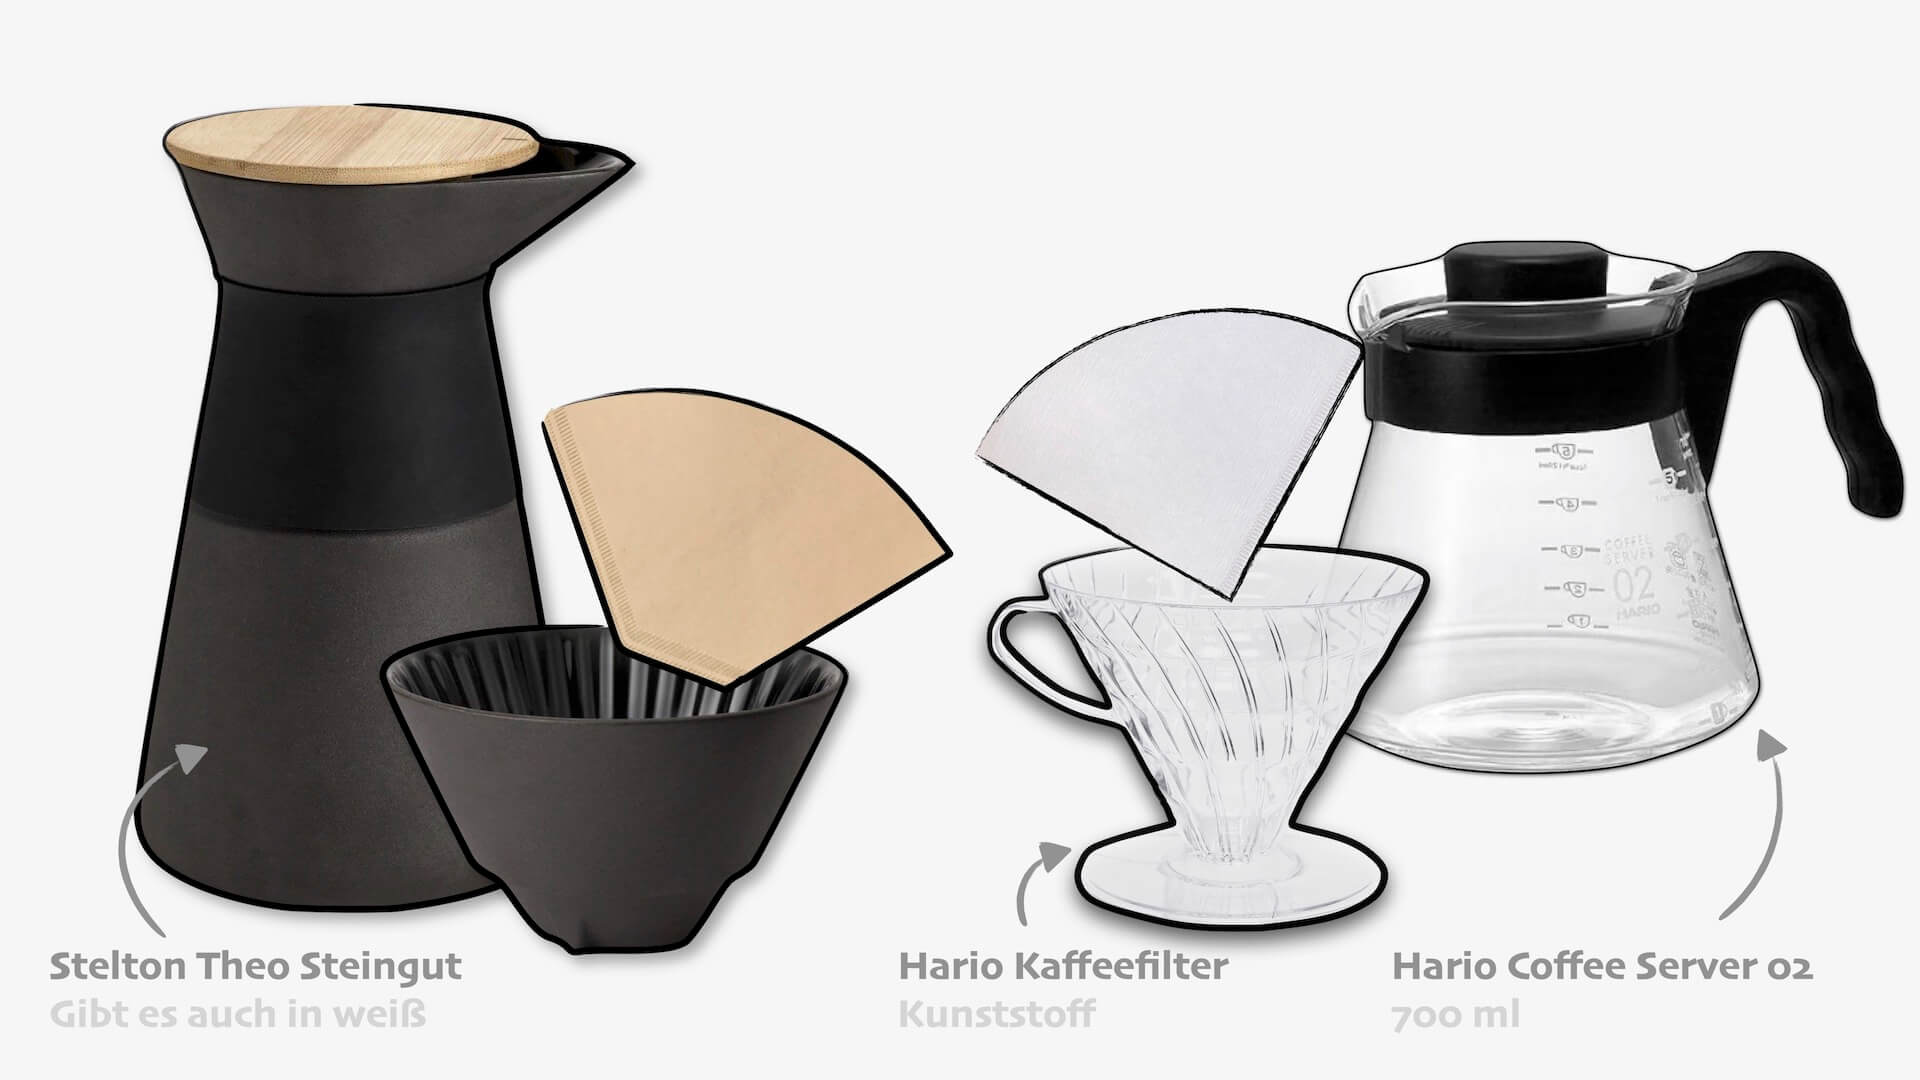
At home, we use two different coffee filter jugs and coffee filters. First, a heavy Stelton Theo coffee pot* (↗︎) made of Scandinavian stoneware with a matching filter. And then, the classic among coffee pots – the Hario Coffee Server 02* (↗︎). Both pots have a capacity of approximately 600–700 ml. The differences lie in the material and shape of the filter holders. While the Stelton coffee pot and filter holder are made of thick-walled stoneware, the Hario Coffee Server is a glass jug. The filter is made of plastic, but can easily be replaced with a porcelain version. If you want to bring home a beautiful design object with clean lines, Stelton products are a great choice. As an entry-level option, with which you really can't go wrong, we recommend the Hario jug and filter combination. These are available in various versions and also as sets. They then receive the pot, the filter holder, paper filters and a measuring spoon for the correct dosage of coffee powder.
Purchase recommendation: Hario filter coffee starter sets* (↗︎)
Kettles: The best kettles for coffee at home
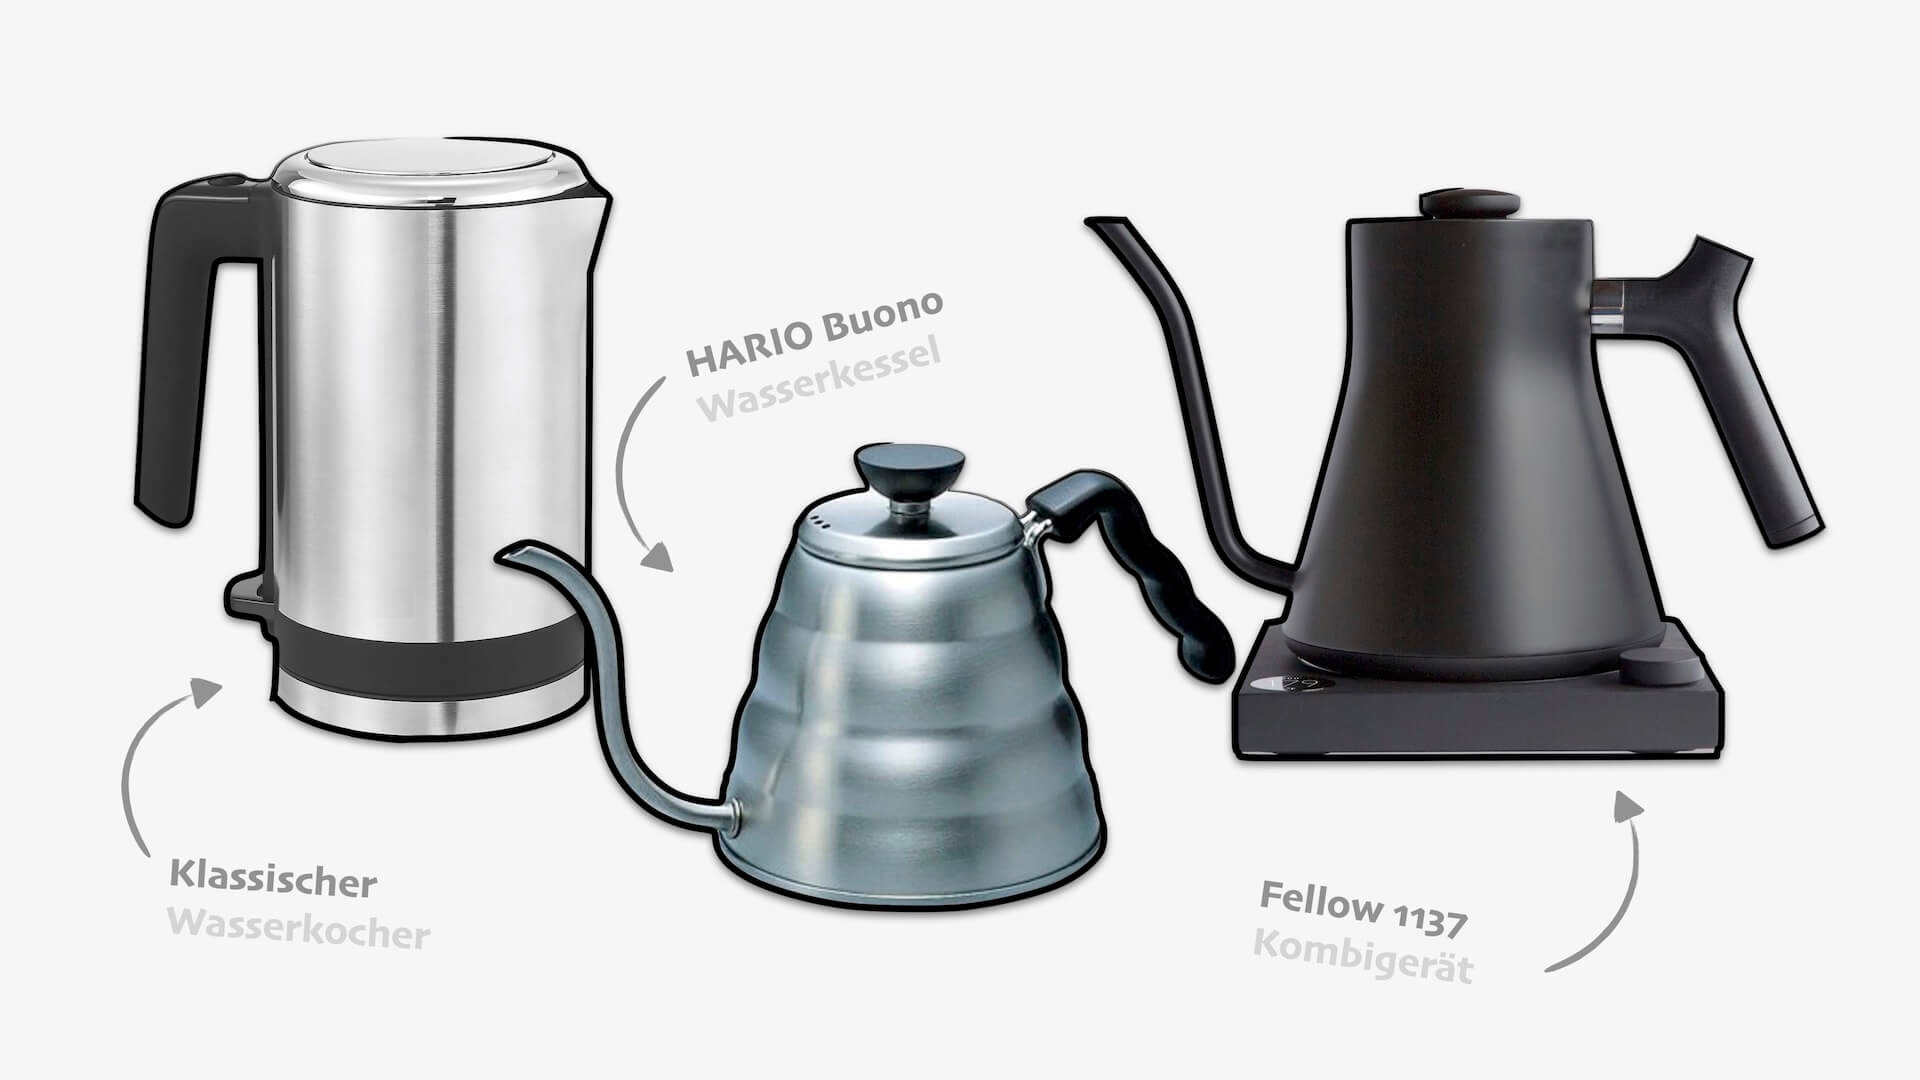
For coffee beginners who are just delving into the world of hand filters, we think it's perfectly sufficient to use the kettle you have at home. However, if you'd like to work at barista level right from the start, you can get a gooseneck kettle* (↗︎), for example from Hario , for under €50. A kettle doesn't have its own heating coil. You either pour the boiling water from the kettle into it, or heat the water in the kettle on the stove. Why the effort, you ask? A kettle gives you better handling and more control. This prevents you from over- or under-wetting the coffee grounds, for example, and allows you to pour the water much more precisely. Alternatively, there are also combination devices that combine a kettle and kettle in one device, such as the stylish Fellow Stagg 1137* (↗︎) .
Purchase recommendation: Fellow Stagg 1137 combo device* (↗︎)
Purchase recommendation: Hario Buono gooseneck kettle* (↗︎)
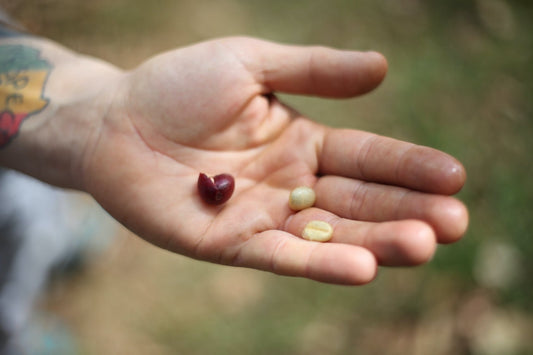
Coffee beans: Our best coffees for the hand filter
When it comes to choosing coffee beans, you're spoiled for choice. Depending on your taste preferences, we've compiled three different coffees that are ideal for a hand filter.
Suggestion 1: Coffee from Honduras
Strength: ●○○○ ○ 1/5

The coffee is a very mild and low-acid Arabica from Central America, with a full-bodied aroma and fruity, nutty notes.
Suggestion 2: Coffee from Colombia
Strength: ●● ○○ ○ 2/5

Farsin's coffee from the Colombian highlands: A medium roast. 100% Arabica beans with a full aroma and nutty notes.
Suggestion 3: Coffee from Tanzania
Strength: ● ● ● ● ○ 4/5

A robust coffee flavor, full-bodied. Rounded off by a fine, delicate acidity, this is the taste of 100% Arabica beans from the highlands of Tanzania. Wonderful to enjoy in the early morning.
Coffee from the hand filter: step by step instructions
Step 1: Grind coffee beans
Choosing the grind: Which grind is suitable for the hand filter?
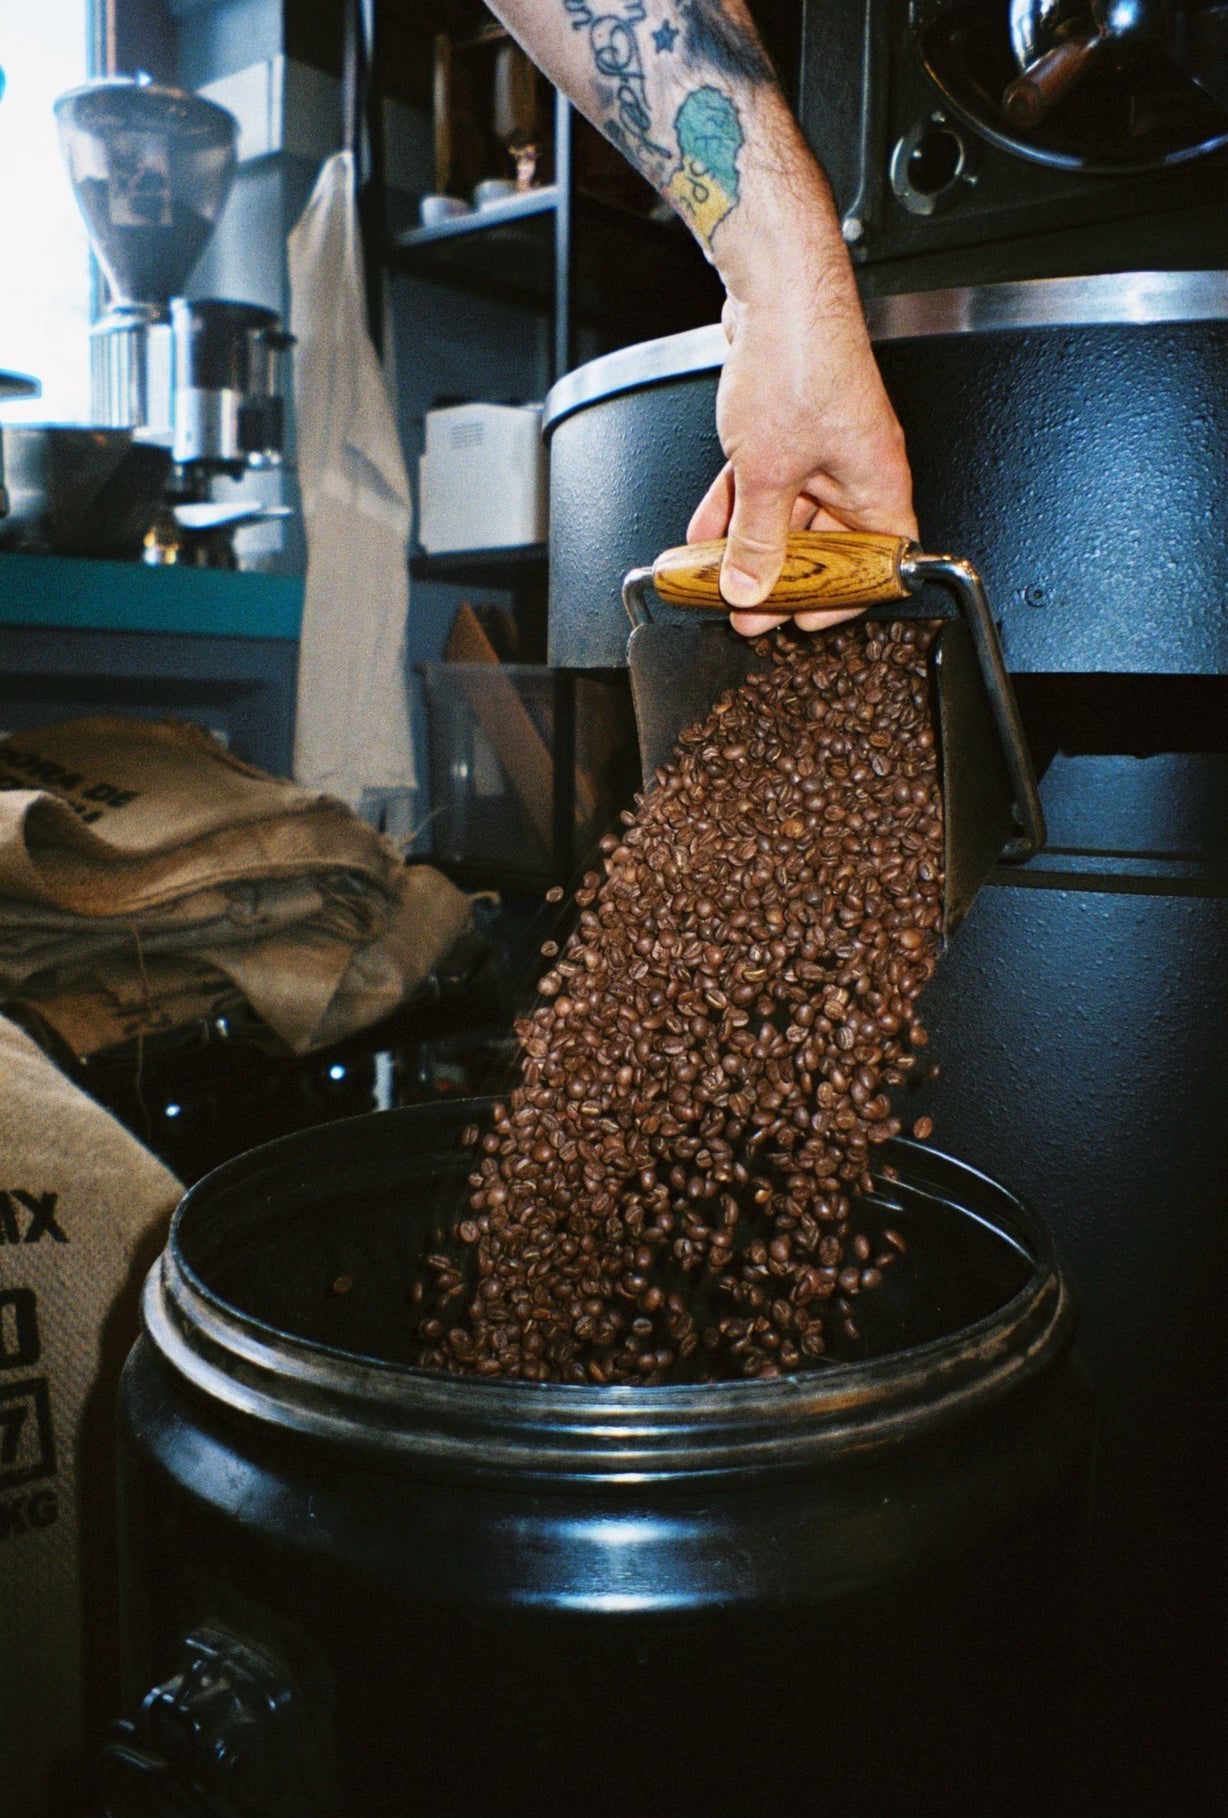
Besides the beans themselves, the right grind is crucial. For filter coffee, the beans should be ground neither too finely nor too coarsely. A medium grind is ideal. I always base my choice on the texture of coarse sea salt. If you buy the beans from us at the roastery, you can also have them ground there. You can also order coffee beans for filter coffee here in our online shop.
Dosing coffee powder: How much coffee grounds do you need for a filter coffee?
I'm having a hard time answering this question, as it's really a matter of taste. I like my coffee stronger, while others prefer theirs considerably milder. But for a rough guide, we can remember these two rules of thumb:
- For 500ml of water, add about 32 grams of ground coffee
- So about 1 heaped teaspoon (about 10 grams) per cup
However, this is just our recommendation. Feel free to experiment with the amount and slowly work your way to the perfect taste for you. A precision scale might be helpful here. This will document the exact measurements of coffee and water.
A tip: Your ground beans shouldn't be older than six months. As time passes from the roasting date, they lose important aromatic compounds that have a major influence on the taste of your coffee.
Step 2: Boil water
We'll stick with our 32 grams of coffee, which we want to brew with 500ml of water. To do this, we first need to boil some water. It's easy! Turn on the kettle, wait, and you're done. But be careful: Never use boiling water for your filter coffee! This could make the coffee bitter. Temperatures between 92 and 96 degrees Celsius are ideal. The water shouldn't be any colder, as this could make the coffee watery or sour. Feel free to experiment a bit; you'll notice how much the water temperature influences the taste of coffee.
3 tips to determine the right water temperature
Tip 1: The simple rule of thumb
Tip 2: Kitchen thermometer
This tip is especially useful for beginners who don't want to invest too much in their equipment but still want to know exactly how hot the water is. Simply boil the water, place a kitchen thermometer in the water, check the temperature, and wait until the water has cooled to 92-96 degrees Celsius. Simple kitchen thermometers* (↗︎) are available for around €10.
Tip 3: Kettle with temperature display
The most expensive, but also most accurate, option is, of course, to get a kettle with a temperature display and, if possible, a keep-warm function. We personally use the Fellow Stagg 1137* (↗︎) because it allows you to set the temperature to the exact degree.
Step 3: Prepare the paper filter
Now that we have everything ready, it's time to get down to business, or rather the filter bag, because that's where we'll start.

First, fold the filter bag along the seam. With the Hario paper filter, there's only one fold; with the Melitta filter, there are two folds: one at the edge and one at the bottom. This folding is important so the paper filters fit into the filter holder.

Now, using a circular motion, moisten the paper filter, just as it is in the hand filter, with a little boiled water. Wait until the water has collected in the pot and then pour it out. This will eliminate the inherent taste that some filter papers have and also ensure that the paper filter fits perfectly into the filter holder. A nice side effect: the pot and filter holder are now well preheated.
Step 4: Showtime for the filter coffee
Prepare coffee powder
Now pour the measured coffee grounds into the prepared coffee filter. Tap the edge of the filter holder two or three times to distribute the grounds evenly and form a flat surface (this process is also called "leveling"). This ensures that the aromas in the coffee are extracted evenly when they come into contact with the water.
Let the coffee powder swell
Slowly add the boiled water in a circular motion until the coffee grounds are completely covered. Now wait a moment: Let your coffee steep for about 30 to 40 seconds. This phase is called "blooming." You'll probably notice small bubbles appearing on the surface of the coffee. This is all correct, because what's happening is the release of gases produced when the ground coffee absorbs water. And that's exactly what we want to achieve.
Pour water
Once the blooming process is complete, add more water to the coffee in a circular motion until the filter is filled to the top. You can now let the water flow through completely and pour again if there is still water left. Alternatively, you can keep the water level in the filter at a constant high level by moving the water stream to the center of the filter after the circular motions and adding more water at the same rate as the coffee drips into the pot.
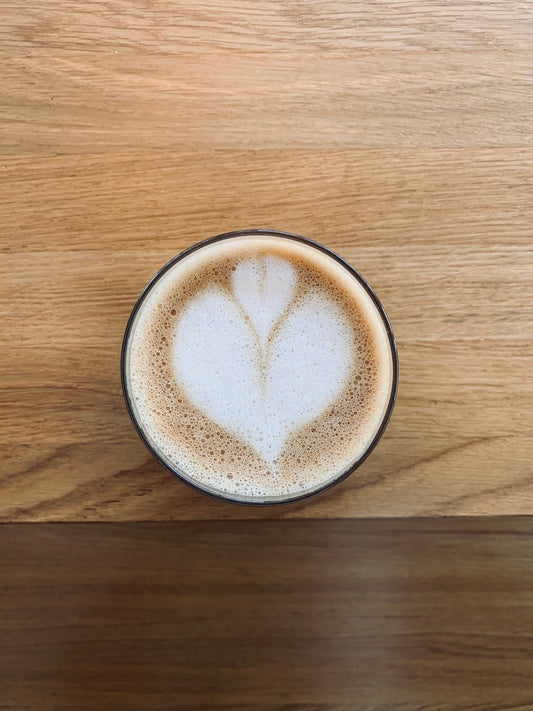
Step 5: Enjoy
There’s not much left for us to say here except: Enjoy it!
...
*Links marked with an asterisk are affiliate links. If you purchase a product through these links, we receive a small commission. This will not incur any additional costs for you.